Dot blotting is a powerful and straightforward technique. It is used in molecular biology to detect, recognize, or quantify specific proteins, nucleic acids, or other biomolecules.
It offers a simplified option to more complex techniques like Western or Southern blotting while maintaining versatility and effectiveness.
What is Dot Blotting technique?
Dot blotting involves immobilizing a biomolecule of interest onto a membrane. The next step is probing it with a labeled antibody or complementary nucleic acid.
The resulting dots on the membrane indicate the presence of the target molecule.
Applications of Dot Blotting
- Protein Analysis: To detect or quantify specific proteins using antibodies.
- Nucleic Acid Detection: For identifying DNA or RNA sequences with labeled probes.
- Drug Screening: Assessing the interaction of molecules with potential drugs.
- Clinical Diagnostics: Detecting biomarkers in patient samples.
Materials Needed for procedure
Before starting the procedure, gather the next materials:
- Nitrocellulose or PVDF membrane
- Spotting device or pipette
- Sample solutions (proteins, DNA, RNA, etc.)
- Blocking buffer (e.g., 5% BSA or non-fat milk)
- Primary and secondary antibodies (if applicable)
- Detection reagents (e.g., chemiluminescent substrates)
- Washing buffers (e.g., PBS-T or TBS-T)
Dot Blotting Procedure
Follow these steps to perform dot blotting effectively:
Step 1: Preparing the Membrane
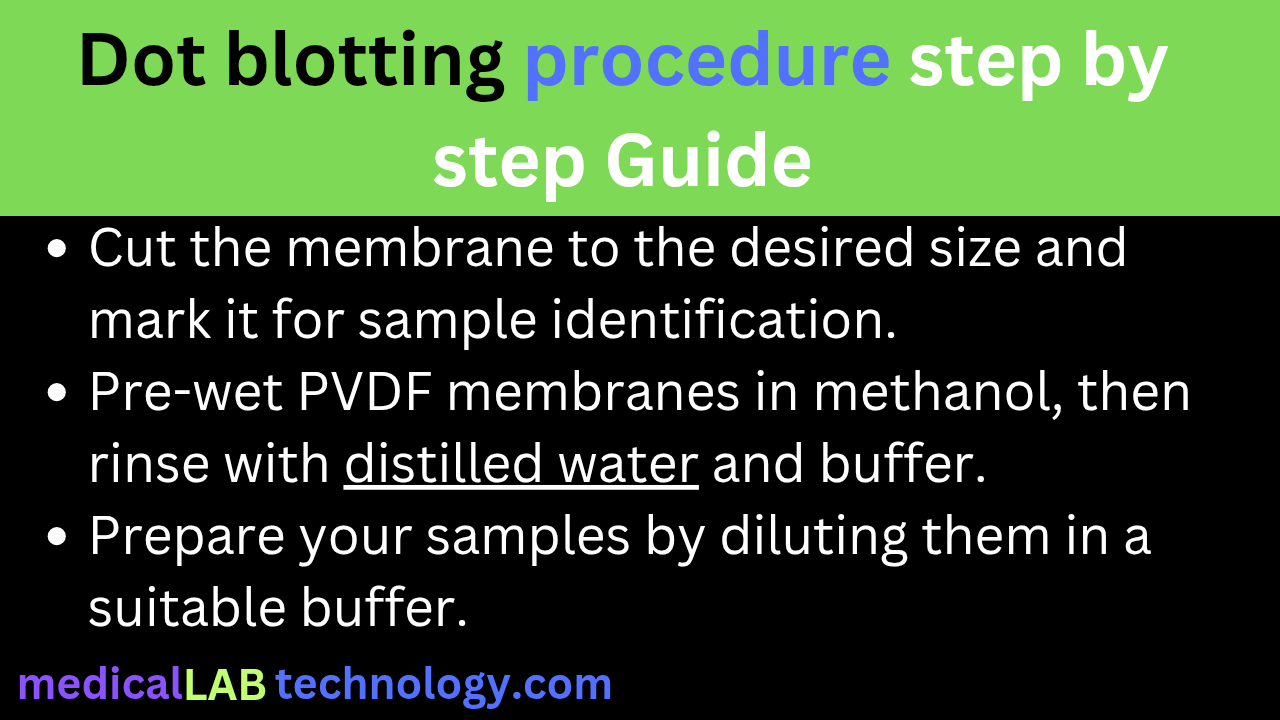
- Cut the Nitrocellulose membrane to the desired size and mark it for sample identification.
- Pre-wet PVDF membranes in methanol, then rinse with distilled water and buffer.
- Nitrocellulose membranes usually need no pre-treatment.
Step 2: Sample Application
- Prepare your samples by diluting them in a suitable buffer.
- Use a pipette to apply small volumes (1–5 µL) directly onto the membrane.
- Allow the samples to dry at room temperature or in a vacuum chamber.
Step 3: Blocking the Membrane
- Incubate the membrane in a blocking buffer to prevent non-specific binding.
- Typical blocking time ranges from 30 minutes to 1 hour at room temperature.
Step 4: Probing the Membrane
- Add the primary antibody or probe specific to your target molecule.
- Incubate for 1–2 hours at room temperature or overnight at 4°C.
- Wash the membrane with washing buffer to remove unbound probe.
Step 5: Adding Secondary Antibody (Optional)
- If a secondary antibody is needed, incubate the membrane with it.
- Ensure the secondary antibody is conjugated with a detection label (e.g., HRP).
Step 6: Detection
- Apply detection reagents to visualize the target molecule.
- Use appropriate equipment (e.g., a chemiluminescence imager or X-ray film) to capture results.
Analyzing Results
The dots on the membrane represent the presence of the target biomolecule. The intensity of the dots can be quantified using imaging software, allowing for semi-quantitative or quantitative analysis.
Advantages and Limitations
Advantages
- Simple and quick procedure.
- Requires minimal equipment compared to other blotting methods.
- Cost-effective for screening multiple samples.
Limitations
- Lack of size information about the biomolecule.
- Limited sensitivity compared to other blotting techniques.
- Possibility of non-specific binding if blocking is inadequate.
Tips for Success
- Always use fresh reagents and high-quality antibodies.
- Avoid overloading the membrane with too much sample to prevent smearing.
- Optimize blocking conditions to minimize background noise.
- Perform proper washing steps to enhance signal-to-noise ratio.
