The Modified Wright Giemsa Stain Procedure is used for examining blood smears and bone marrow samples. This method highlights the morphology of blood cells, including red blood cells (RBCs), white blood cells (WBCs), and platelets.
Here is the steps of Modified wright giemsa stain procedure.
Materials Needed for Giemsa stain
- Air-dried blood smear
- Modified Wright-Giemsa stain.
- Phosphate buffer (pH 6.8 or 7.2).
- Distilled water.
- Staining rack
Modified wright Giemsa stain procedure
Step 1: Prepare the Smear
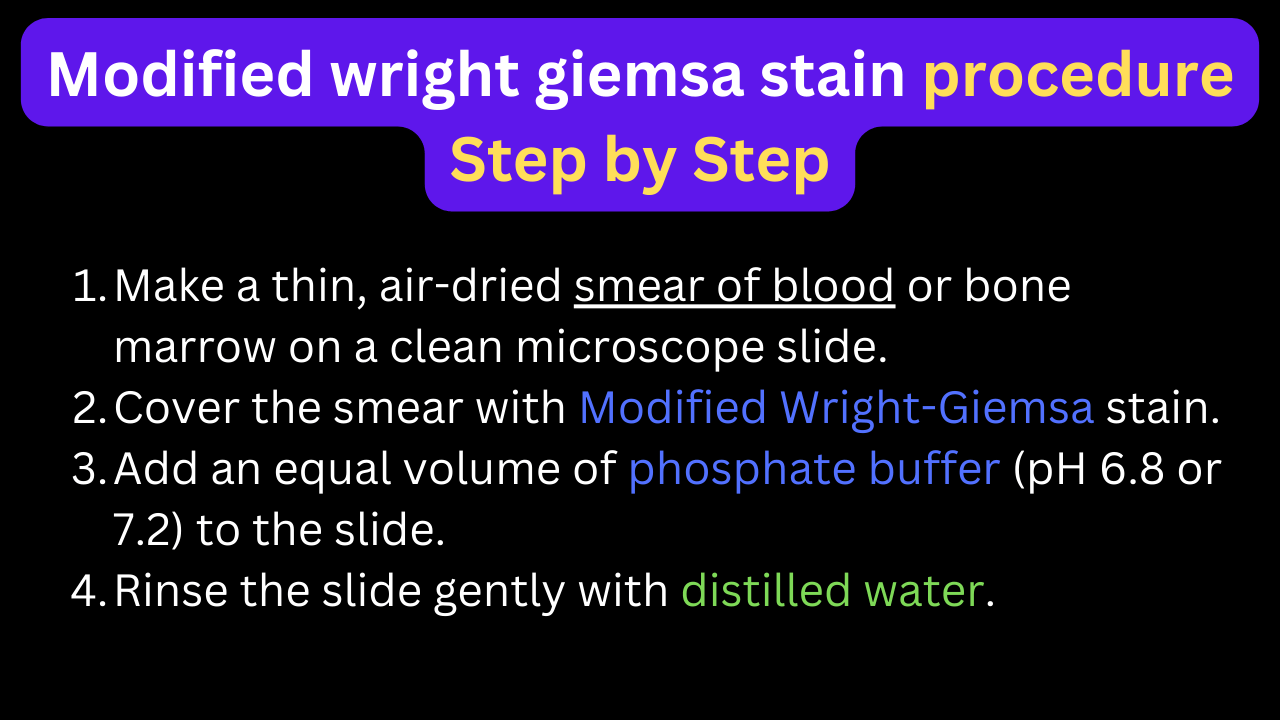
- Make a thin, air-dried smear of blood or bone marrow on a clean microscope slide.
- Make sure the smear is completely dry before staining.
Step 2: Apply the Stain
- Place the slide on a staining rack.
- Cover the smear with Modified Wright-Giemsa stain.
- Allow the stain to stand for 1-3 minutes.
Step 3: Dilute with Buffer
- Add an equal volume of phosphate buffer (pH 6.8 or 7.2) to the slide.
- Mix by gently tilting the slide to allow the stain and buffer to combine evenly.
- Let the mixture sit on the smear for 4-5 minutes.
- This allows proper staining of cellular components.
Step 4: Rinse
- Rinse the slide gently with distilled water.
- Make sure the water flows over the smear without disrupting it.
- Tilt the slide to remove excess water.
Step 5: Air Dry
- Allow the slide to air dry completely.
- Do not blot or use heat to speed up drying.
Step 6: Examine
- Mount the dried slide on a microscope.
- Examine under oil immersion (100x objective) for detailed morphology.
Modified wright Giemsa stain result
- Nuclei of WBCs: Purple to blue.
- Cytoplasm of WBCs: Shades of blue, gray, or pink (depending on cell type).
- RBCs: Pink to orange.
- Platelets: Light blue or purple fragments.